Car window tint provides you with increased privacy and protection against the heat and sun’s UV rays. However, with age, tint film can bubble, fade, or simply be out of fashion. Since many people plan to give a new style to their cars, learning how to remove tint from car windows correctly will save both your time and money.
In this guide, we’ll teach you how to safely yet effectively remove window tint on your own We’ll also share some essential tips and tools you’ll require.
Why Remove Old Window Tint?
Removing old window tint helps improve visibility, restore your car’s appearance, and avoid legal issues. It’s a smart move when tint gets damaged, discolored, or no longer suits your needs. Before removing any old tint, you must know why people need new tinting.
These are reasons:
- Bubbling or peeling film that blocks your view.
- Faded or discolored tint that looks worn-out.
- Legal issues, especially if the tint is darker than the law allows.
- Switching to a new tint style or no tint at all.
Whatever the reason, proper removal is key to avoiding damage to your windows or defroster lines.
What You’ll Need
Here’s a list of basic tools and materials required to remove tint from car windows:
- Heat gun or hair dryer
- Razor blade or scraper
- Spray bottle with soapy water or ammonia
- Black garbage bags
- Microfiber cloths
- Glass cleaner
- Mask and gloves (for safety)
Tip: Never use sharp metal tools on defrost lines or rear windows without extreme care.
Method 1: Heat and Peel
This is the most popular and safest method for DIY window tint removal. But you will need all the necessary tools and materials to ensure a perfect removal.
Steps:
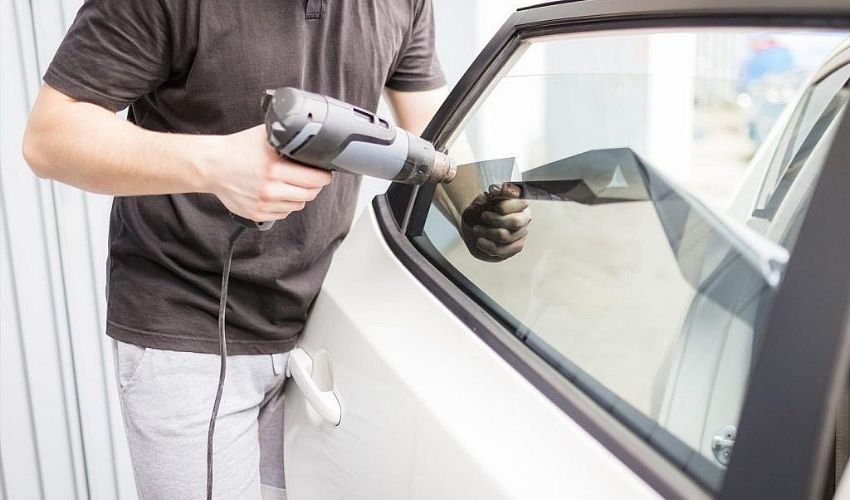
Warm the Tint Film
Use a heat gun or hair dryer. Hold it a few inches from the glass and warm the corner of the tint for about 30 seconds.
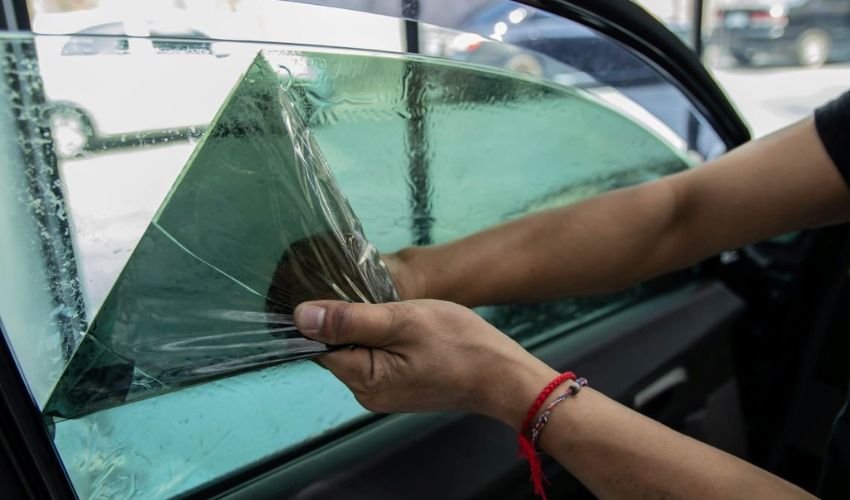
Lift a Corner
Use your fingernail or a plastic scraper to gently lift the edge of the tint.
Peel Slowly
Once the corner lifts, pull the film slowly while applying heat ahead of the peeling area. This keeps the glue soft and helps remove it without tearing.
Remove Residue
Use a professional adhesive remover or soapy water to mist the leftover glue. Use a plastic blade to scrape it off after letting it set for five to ten minutes.
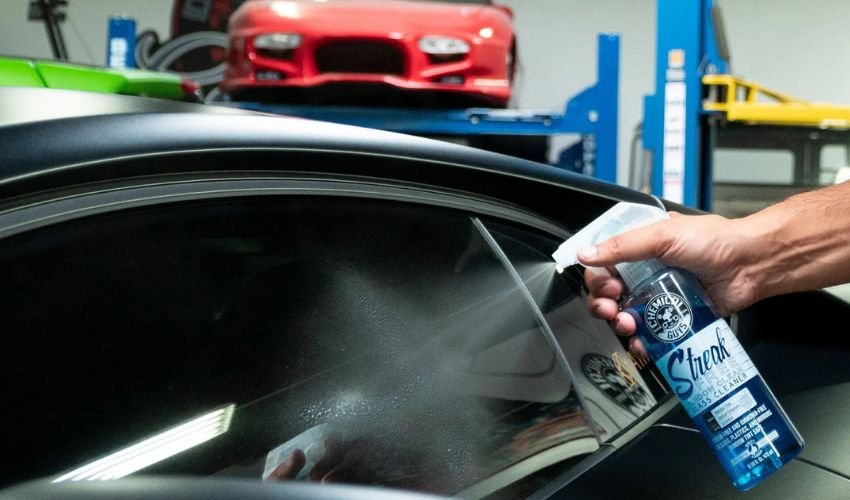
Clean the Window
Wipe down the window using a microfiber cloth and glass cleaner to remove streaks or leftover glue.
Method 2: Soap and Newspaper
This method is effective for side windows and works well on a sunny day.
Steps:
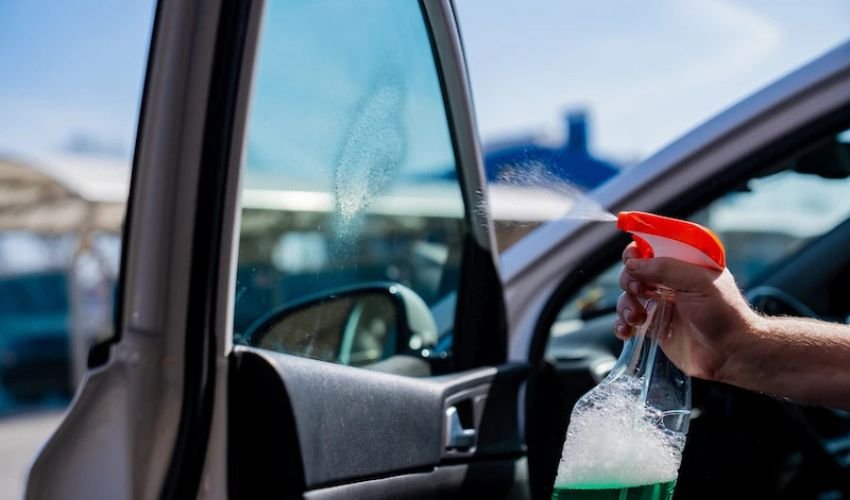
Spray Soapy Water
Cover the inside of the tinted window with soapy water using a spray bottle.
Place Newspaper
Stick newspaper sheets on the wet tint and let them soak in the sun for about 30–60 minutes.
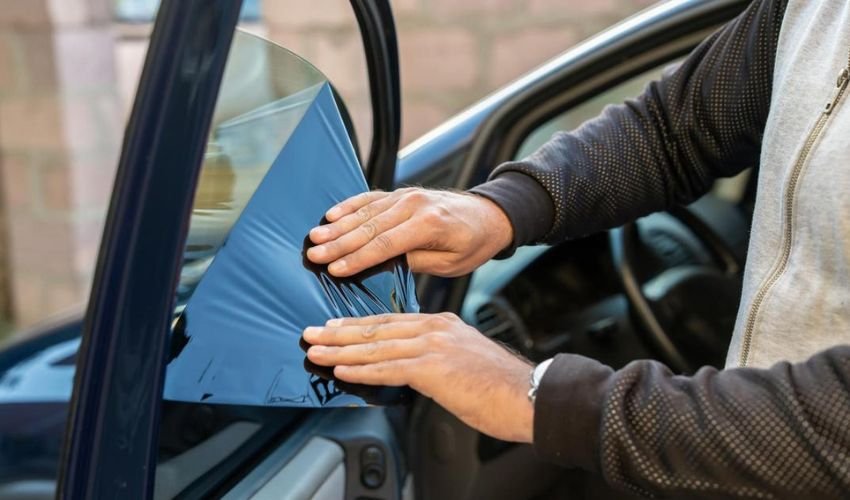
Peel the Tint
Start peeling the tint off from the corners while keeping the surface wet. The wet paper helps loosen the adhesive.
Scrape and Clean
Scrape off any remaining adhesive with a scraper. Wipe with a fresh cloth and window cleaner to finish.
Method 3: Ammonia and Garbage Bags (for Rear Windows)
This method is helpful for back windows, especially those with defroster lines.
Steps:
Work in a Well-Ventilated Area
Because ammonia releases powerful fumes, use gloves and a mask, and keep your windows open.
Spray with Ammonia
Mist the inside of the window tint with ammonia. Immediately cover the window with a black garbage bag to trap the heat and moisture.
Let It Sit
Allow it to sit under sunlight for 30–45 minutes. The heat will soften the tint and glue.
Peel the Tint
Lift the tint carefully and peel it away. Use a plastic scraper if needed for better results.
Clean Up
Remove remaining adhesive with a soapy cloth or ammonia and a sponge. Avoid scraping defrost lines.
Dos and Don’ts of Tint Removal
Dos:
- Work slowly and patiently.
- Use heat to soften adhesive and avoid tearing.
- Protect your car’s interior with towels or covers.
- Clean thoroughly after removal before applying new tint.
Don’ts:
- Don’t rush the peeling, it may leave glue behind.
- Never use metal scrapers on rear windows.
- Don’t ignore safety, use gloves and masks when handling ammonia.
- Don’t apply new tint until all residue is cleaned.
When to Call a Professional?
Hiring a professional is the best option if you’re not comfortable doing it yourself. It’s especially important to remove tint from rear windows with defroster lines. Damaging those lines can be costly. Professional tint removal ensures:
- No damage to glass or defrosters
- Complete glue removal
- Safe disposal of tint film
- Fast and efficient service
Final Thoughts
The process of removing old car’s tint from your windows can be done at the comfort of your home with the right step and tools. Whether you’re adding a new tint or just want a clean look, these techniques will help you achieve a safe, thorough result. Contact a professional window tinting service close to you to have a soft and stress-free service.